How to Edit RAW Photos in Lightroom Mobile Like a Professional
Quick Answer Editing RAW photos in Lightroom Mobile gives you professional control over exposure, color, contrast, and details right on your phone or tablet. Import your RAW (or DNG) files, apply a camera profile, adjust lights first, then refine colors, use masks for selective edits, sharpen, reduce noise, and export high-quality images. With a Creative Cloud subscription, you get full RAW power plus cloud sync to desktop. This workflow delivers pro results faster than many expect, whether shooting with a DSLR, mirrorless, or iPhone ProRAW.
Key Takeaways
- RAW files offer far more editing flexibility than JPEGs because they capture uncompressed sensor data.
- Start with Light adjustments and a proper camera profile for the best base.
- Use masks, selective edits, and curves for pro-level control on mobile.
- Lightroom Mobile supports full RAW editing on supported devices with a paid plan.
- Sync edits seamlessly between mobile and desktop for a hybrid workflow.
- Avoid common mistakes like over-sharpening or ignoring noise reduction.
- Practice on sample RAW files to build speed and confidence.
Introduction
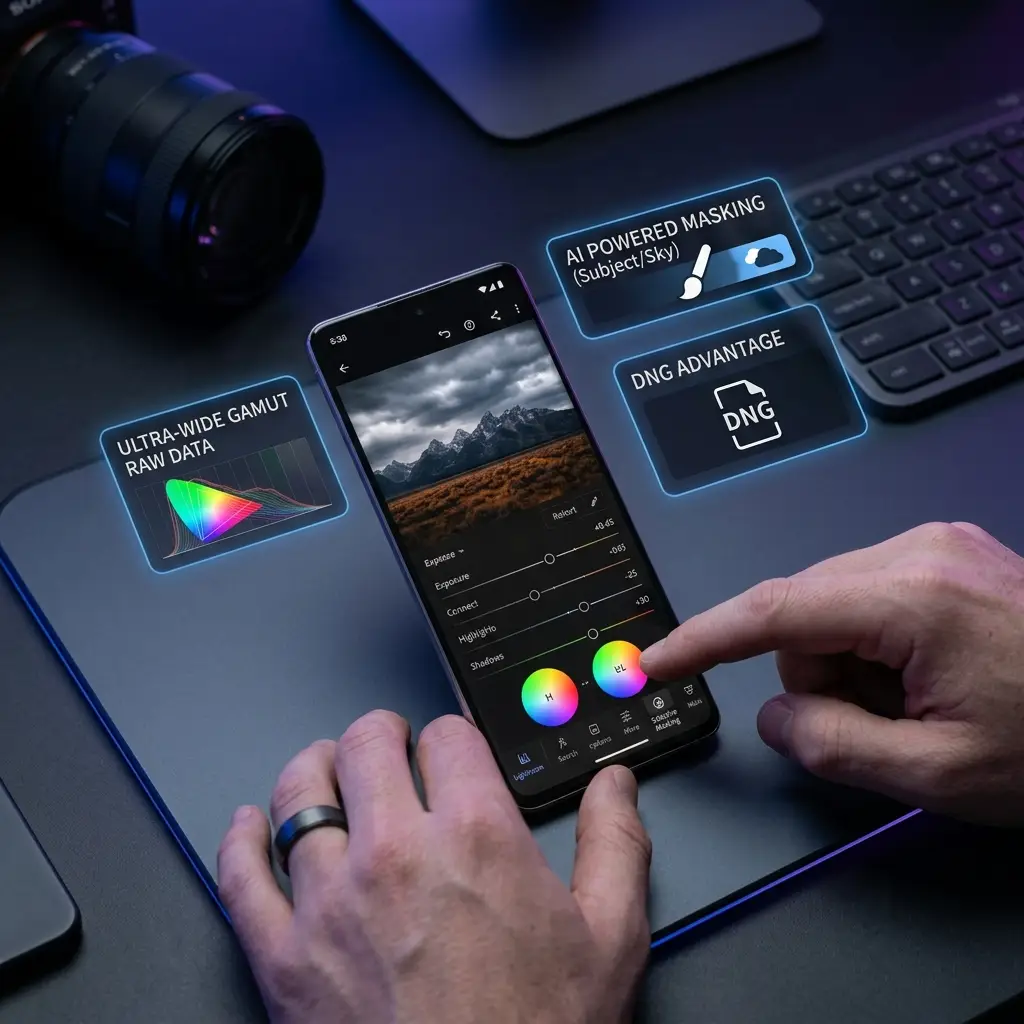
RAW photos contain all the data your camera sensor captured. Unlike JPEGs, they let you recover highlights, lift shadows, and adjust white balance without losing quality. Lightroom Mobile makes professional RAW editing possible anywhere.
This matters because great photos often need post-processing. Mobile editing saves time—no need to wait until you’re at a computer. Professionals and enthusiasts use it for quick tweaks on location or full edits on the go.
This guide shows you how to edit RAW photos in Lightroom Mobile like a pro. You’ll learn the complete workflow, from import to export. It covers tools, best practices, tips, and common pitfalls. Whether you shoot with a smartphone, mirrorless camera, or DSLR, these steps will help you create stunning images.
The article includes step-by-step instructions, comparisons, tables, and expert insights to outperform basic tutorials. By the end, you’ll have a repeatable process that builds your skills and topical authority in mobile photography editing.
Table of Contents
- Why Shoot and Edit in RAW on Mobile?
- Getting Started: Import RAW Photos into Lightroom Mobile
- Understanding Lightroom Mobile’s RAW Editing Interface
- Step-by-Step Professional RAW Editing Workflow
- Mastering Light and Exposure Adjustments
- Color Correction and HSL Tools
- Selective Editing with Masks and Brushes
- Geometry, Crop, and Perspective Fixes
- Sharpening, Noise Reduction, and Detail
- Advanced Techniques and Pro Tips
- Common Mistakes and How to Avoid Them
- Lightroom Mobile vs Desktop for RAW Editing
- Exporting and Sharing Your Edited Photos
- FAQ
Why Shoot and Edit in RAW on Mobile?
RAW files preserve maximum data. You can recover blown-out skies or dark shadows that JPEGs would clip forever. On mobile, this means pro results without a laptop.
Benefits include:
- Non-destructive editing — original file stays untouched.
- Better dynamic range for landscapes, portraits, and low-light shots.
- Full white balance control after capture.
- Sync with desktop Lightroom for seamless workflow.
Many photographers now edit iPhone ProRAW or camera RAWs directly in Lightroom Mobile. It’s faster for culling and initial grading on the go.
Key Point: RAW + Lightroom Mobile gives you desktop-level power in your pocket, perfect for travel, events, or quick client work.
Getting Started: Import RAW Photos into Lightroom Mobile
- Open the Lightroom Mobile app (free to download, premium for full RAW features).
- Tap the + or Import icon.
- Choose From Device, Connected Camera/Card, or your photo library.
- Filter for RAW or DNG files if needed.
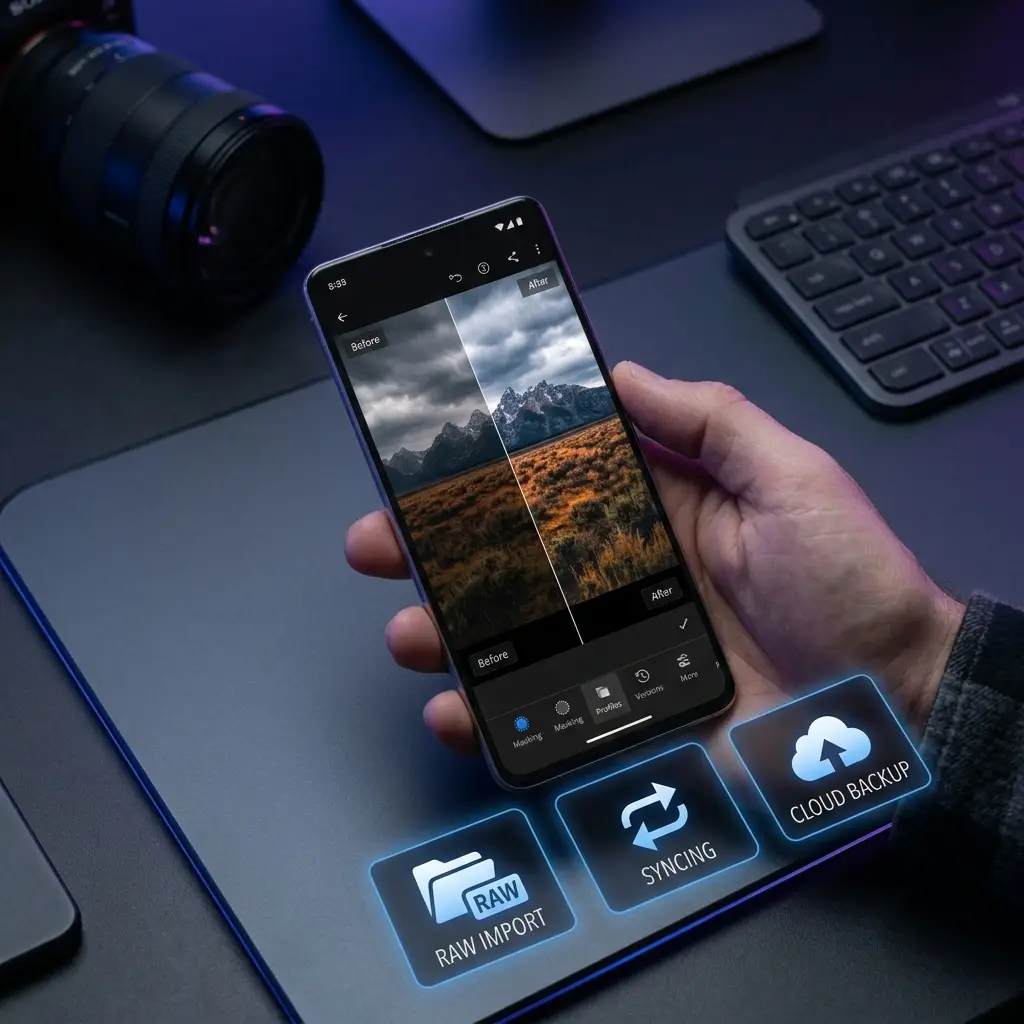
- Select photos and import. They sync to the cloud with a subscription.
Tip: For cameras, use a card reader or direct connection on supported devices like iPad. Enable RAW defaults in settings for consistent imports.
Key Point: Proper import sets up non-destructive editing and cloud backup from the start.
Understanding Lightroom Mobile’s RAW Editing Interface
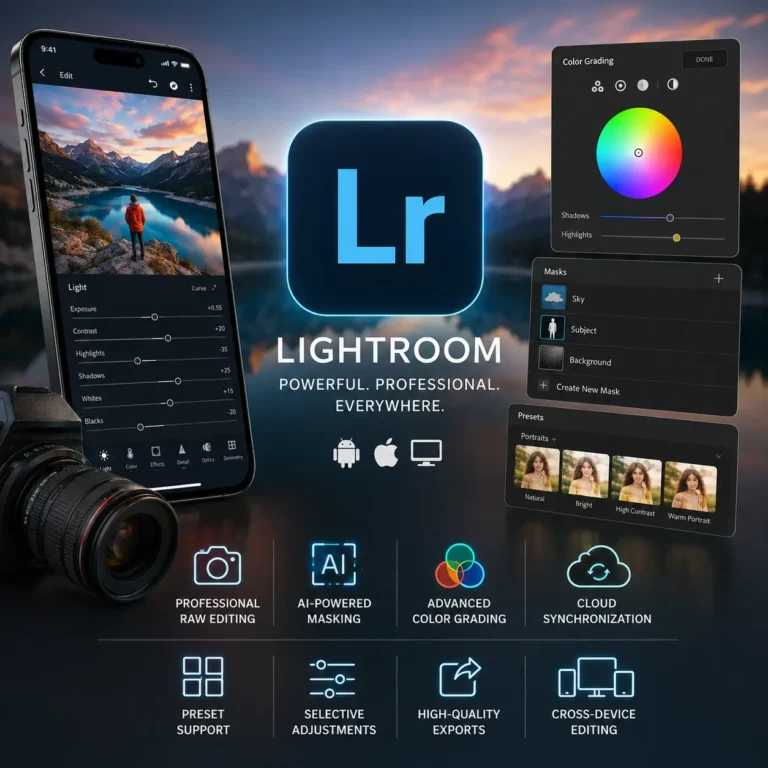
The interface is simple yet powerful. Tap a photo to enter Edit mode. Bottom toolbar shows tabs: Light, Color, Effects, Detail, Optics, Geometry, and more.
- Profiles: Choose Adobe Raw, Camera Matching, or ProRAW-specific ones.
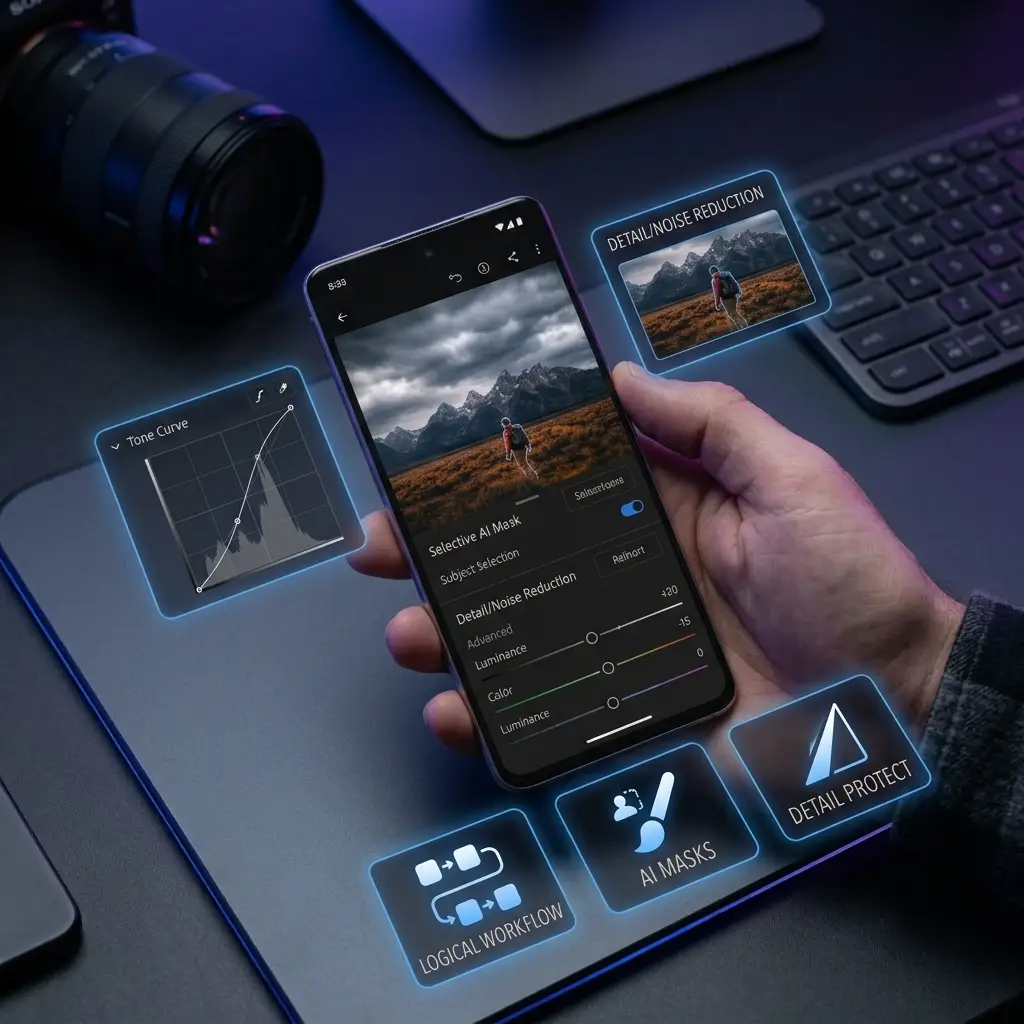
- Masks: AI Select Subject, Sky, or manual brushes/gradients.
- History and Versions: Revert changes or create alternate edits easily.
The app handles large RAW files well on modern phones and tablets.
Step-by-Step Professional RAW Editing Workflow
Follow this order for consistent, efficient results:
- Apply Camera Profile.
- Adjust global Light (exposure, contrast, highlights, shadows).
- Crop and straighten.
- Fine-tune Color (White Balance, HSL).
- Add Effects (Clarity, Texture, Dehaze, Vignette).
- Make Selective Masks.
- Fix Geometry and Optics.
- Sharpen and reduce Noise.
- Final Light tweaks with Tone Curve.
- Export.
This nonlinear but logical flow lets later steps inform earlier ones.
Key Point: A structured workflow prevents over-editing and ensures balanced, professional results.
Mastering Light and Exposure Adjustments
Start here because light affects everything else.
- Exposure: Set overall brightness.
- Contrast: Add punch.
- Highlights: Recover bright areas.
- Shadows: Lift details.
- Whites/Blacks: Set clipping points.
Use the histogram to avoid clipping. For ProRAW or high-dynamic-range shots, pull highlights down first.
Pro Tip: Make lights “about right” early, then refine after color and effects.
Color Correction and HSL Tools
Get natural colors fast:
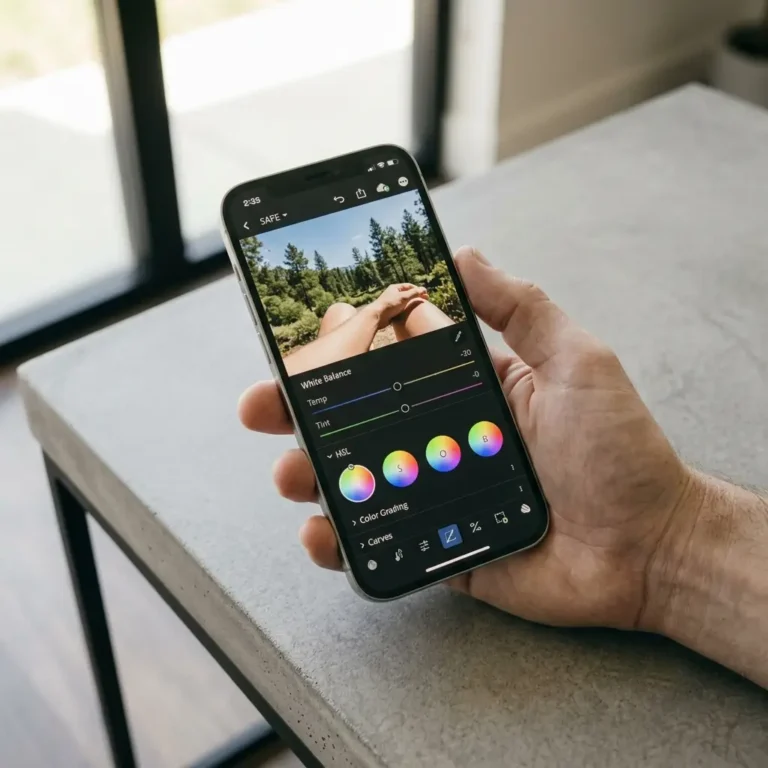
- Set White Balance using the eyedropper or sliders (Temp/Tint).
- Use HSL (Hue, Saturation, Luminance) for targeted color shifts. Example: Boost sky blues or warm skin tones.
- Mix panel for fine control.
Compare before/after often. Aim for pleasing, not oversaturated, results.
| Tool | Best For | Pro Use Case |
| White Balance | Correct color temperature | Indoor/outdoor mixed light |
| HSL | Targeted color adjustments | Landscape separation |
| Color Grading | Creative looks | Cinematic tones |
Selective Editing with Masks and Brushes
Masks make edits look professional. Lightroom Mobile offers:
- AI masks for Subject, Sky, Background.
- Radial/Linear gradients.
- Brush for precise areas.
Example: Brighten a face while darkening the sky, or dodge and burn for dimension. Combine masks for complex control.
Key Point: Selective edits separate amateur from pro work by focusing viewer attention.
Geometry, Crop, and Perspective Fixes
Crop for composition early. Use guided upright or auto perspective to fix tilted horizons and converging lines.
Adjust Aspect Ratio for social media or prints. Scale to remove white borders after corrections.
Sharpening, Noise Reduction, and Detail
Detail tab is crucial for RAW files:
- Sharpen Amount, Radius, Detail.
- Noise Reduction: Luminance and Color. Be careful not to lose texture.
- Use Detail sliders to protect edges.
For high-ISO shots, noise reduction works well but test at 100% view.
Advanced Techniques and Pro Tips
- Use Tone Curve for custom contrast.
- Create and save custom presets for your style.
- Sync with desktop for advanced AI tools like Denoise if needed.
- Edit in Versions for multiple looks (color vs B&W).
- Shoot in RAW+JPEG for quick previews while retaining full data.
Expert Insight: Many pros edit 80% on mobile and finish on desktop. Mobile is now powerful enough for full professional workflows, especially with iPad.
Common Mistakes and How to Avoid Them
- Over-sharpening or heavy noise reduction → flattens texture. Zoom in and use sparingly.
- Ignoring histogram → clipped data. Check often.
- Skipping profiles → flat starting point. Always apply matching profile.
- Global edits only → unnatural look. Use masks.
- Not backing up → lose work. Enable cloud sync.
Fix by working non-destructively and comparing versions.
Lightroom Mobile vs Desktop for RAW Editing
Mobile excels in speed and portability. Desktop offers more advanced AI, HDR merging, and precise curves sometimes.
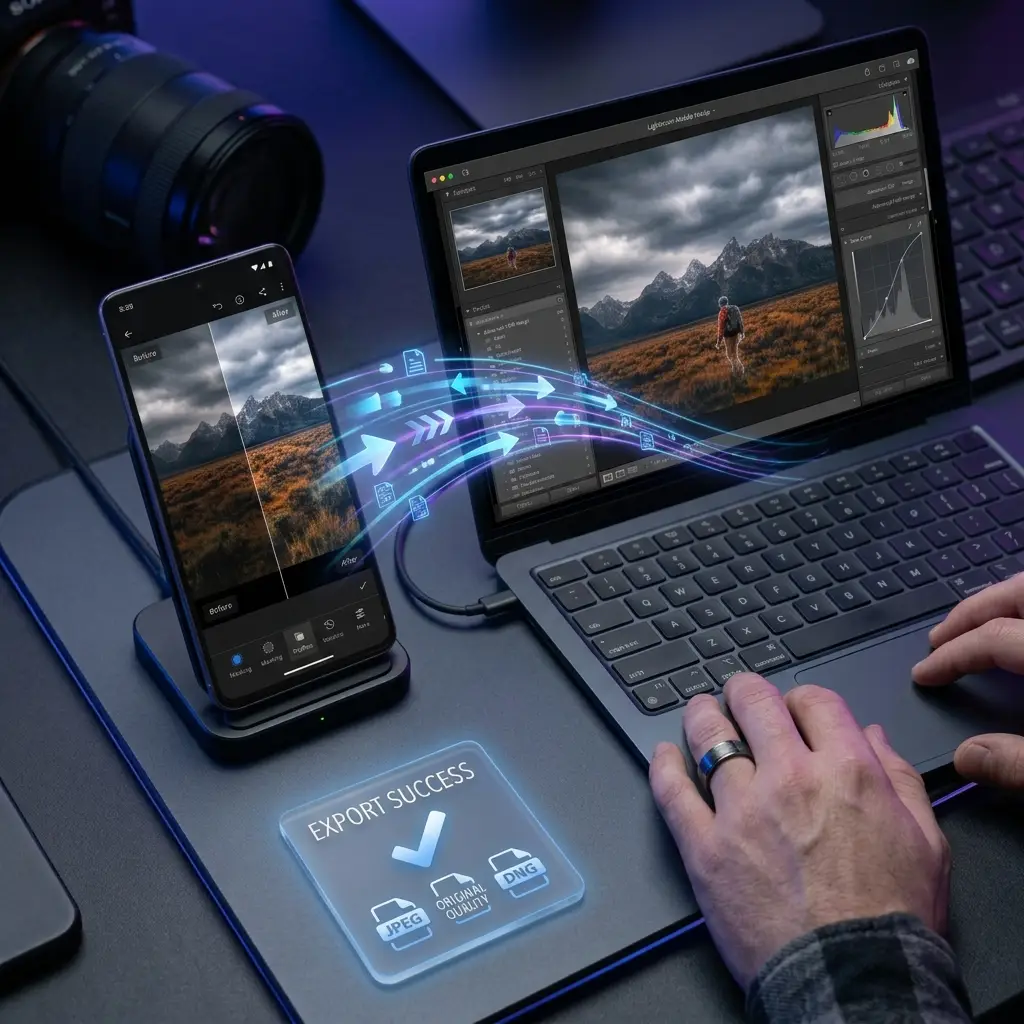
Use both: Edit on mobile, refine on desktop via sync. Results are nearly identical for most photos.
Exporting and Sharing Your Edited Photos
Tap Share or Export. Choose JPEG, original quality, or DNG. Set resolution and sharpening for output.
Export to device, cloud, or social apps. For web, use sRGB profile.
Key Point: Proper export preserves your pro edits for clients or prints.
Conclusion
Editing RAW photos in Lightroom Mobile like a professional is straightforward with the right workflow. Master lights, colors, masks, and details for stunning results anywhere. Practice consistently, and you’ll outperform many desktop-only editors in speed and creativity.
Start with your next batch of RAW files today. Combine this guide with hands-on editing to build real expertise. Your photos will thank you.