Lightroom Mobile Color Correction: A Complete Beginner to Advanced Guide
Quick Answer Color correction in Lightroom Mobile fixes white balance, boosts accurate hues, adjusts saturation, and creates pleasing tones using simple sliders and powerful tools. Start with White Balance and Basic adjustments, then use HSL, Color Grading, and Masks for precision. This guide takes you from beginner fixes to advanced techniques like selective color editing and creative grading — all on your phone or tablet. With practice, you’ll achieve professional, natural-looking colors in minutes.
Key Takeaways
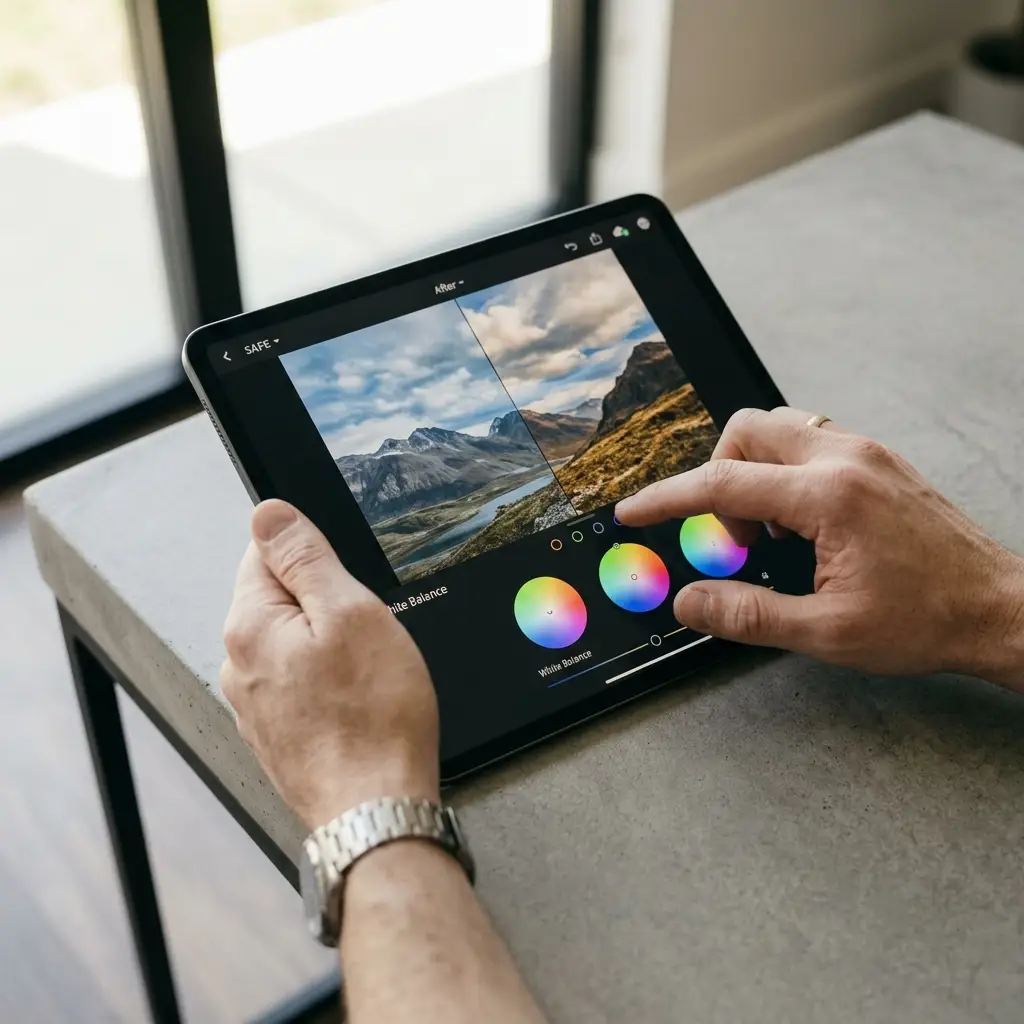
- White Balance is the foundation — fix it first for accurate colors.
- HSL panel gives precise control over specific hues, saturation, and luminance.
- Masks and selective edits prevent global color issues.
- Color Grading adds mood and cinematic looks.
- Use before/after comparisons and histograms for accuracy.
- RAW files offer the most flexibility for color work.
- Build reusable presets to speed up your workflow.
Introduction
Color correction transforms flat or off-tone photos into vibrant, professional images. In Lightroom Mobile, you get powerful tools that rival desktop software, all in your pocket.
This matters because bad colors distract viewers and weaken your story. Good color correction makes skin tones natural, skies pop, and landscapes immersive. Beginners can fix basic issues quickly, while advanced users create artistic looks.
This complete guide covers everything from basics to pro techniques for color correction in Lightroom Mobile. You’ll learn workflows, tools, common mistakes, tips, and comparisons. Whether editing phone photos, camera RAWs, or ProRAW files, these steps will elevate your editing game.
By the end, you’ll have a repeatable process that satisfies search intent and builds your skills.
Table of Contents
- Why Color Correction Matters in Lightroom Mobile
- Getting Started: Importing and Preparing Photos
- Understanding the Color Tools in Lightroom Mobile
- Beginner Color Correction Workflow
- Intermediate Techniques: HSL and Selective Edits
- Advanced Color Correction: Color Grading, Curves, and Masks
- Creative Color Grading for Mood and Style
- Fixing Common Color Problems
- Lightroom Mobile Color Tools vs Desktop
- Best Practices and Pro Tips
- Exporting Color-Corrected Photos
- FAQ
Why Color Correction Matters in Lightroom Mobile
Colors influence emotion and professionalism. Warm tones feel inviting; cool tones feel calm. Lightroom Mobile makes corrections fast and non-destructive, perfect for on-the-go editing.
Benefits:
- Accurate skin tones for portraits.
- Vibrant yet natural landscapes.
- Consistent looks across a series.
- Creative freedom without destroying originals.
RAW or DNG files give the best starting point due to extra data.
Key Point: Strong color correction is often the difference between an okay photo and a standout one.
Getting Started: Importing and Preparing Photos
- Open Lightroom Mobile.
- Import photos from your library, camera, or card.
- Tap to open an image and switch to Edit mode.
- For RAW files, apply a Camera Profile first (e.g., Adobe Color or ProRAW profile) for a better base.
Zoom in to check details. Use the histogram to monitor tones and colors.
Understanding the Color Tools in Lightroom Mobile
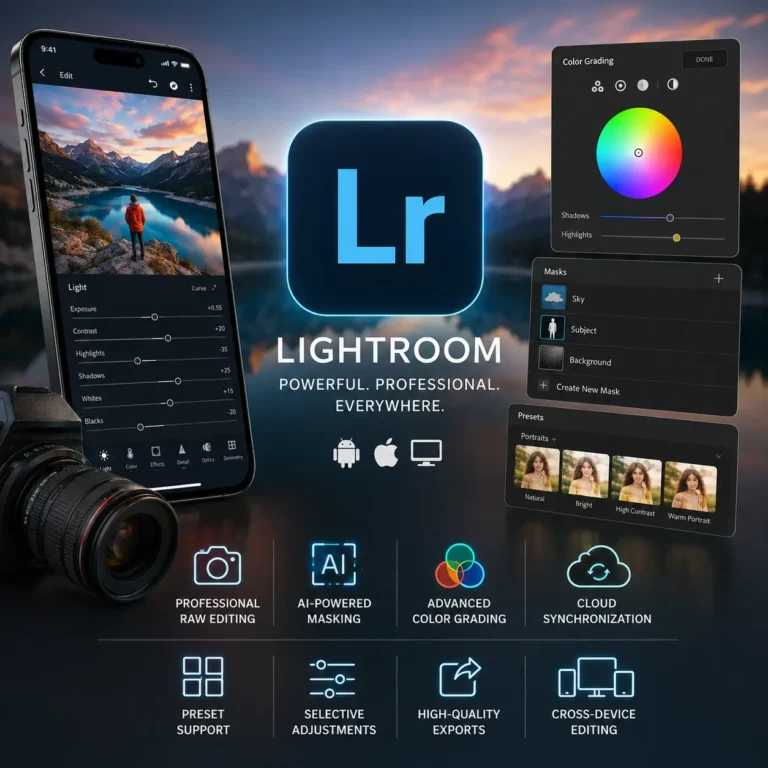
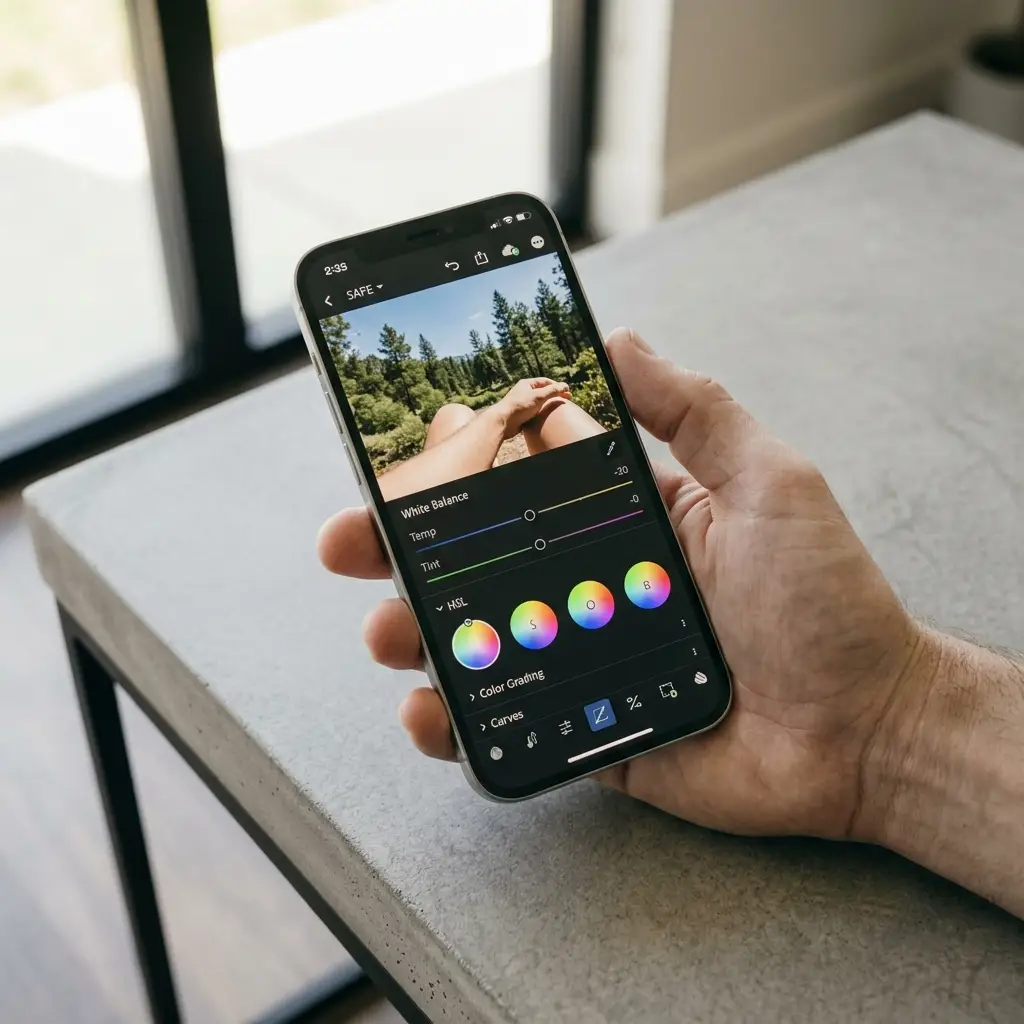
- White Balance (Temp & Tint): Fixes overall color cast.
- Basic Panel: Saturation, Vibrance, Exposure (affects color perception).
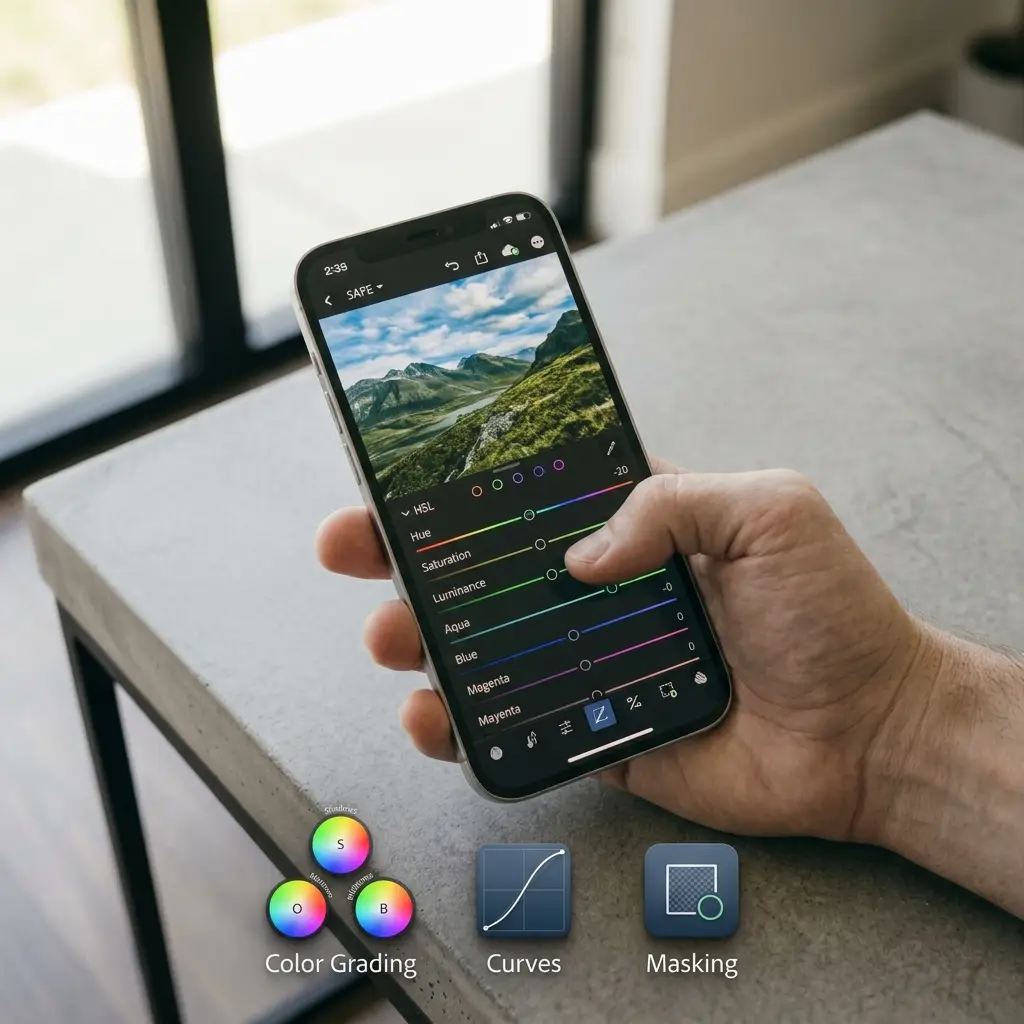
- HSL: Hue, Saturation, Luminance for 8 color channels.
- Color Grading: Shadows, Midtones, Highlights wheels + Global.
- Mix / Calibration: Fine adjustments.
- Masks: Targeted color changes.
These tools work together for precise control.
Beginner Color Correction Workflow
Follow these steps:
- Fix White Balance — Use the eyedropper on a neutral gray area or adjust Temp/Tint sliders.
- Adjust Exposure and Contrast — Colors look better with good brightness.
- Boost Vibrance and Saturation — Vibrance is smarter (affects less-saturated colors more).
- Check HSL — Pull down overly bright colors (e.g., reduce orange luminance in skin).
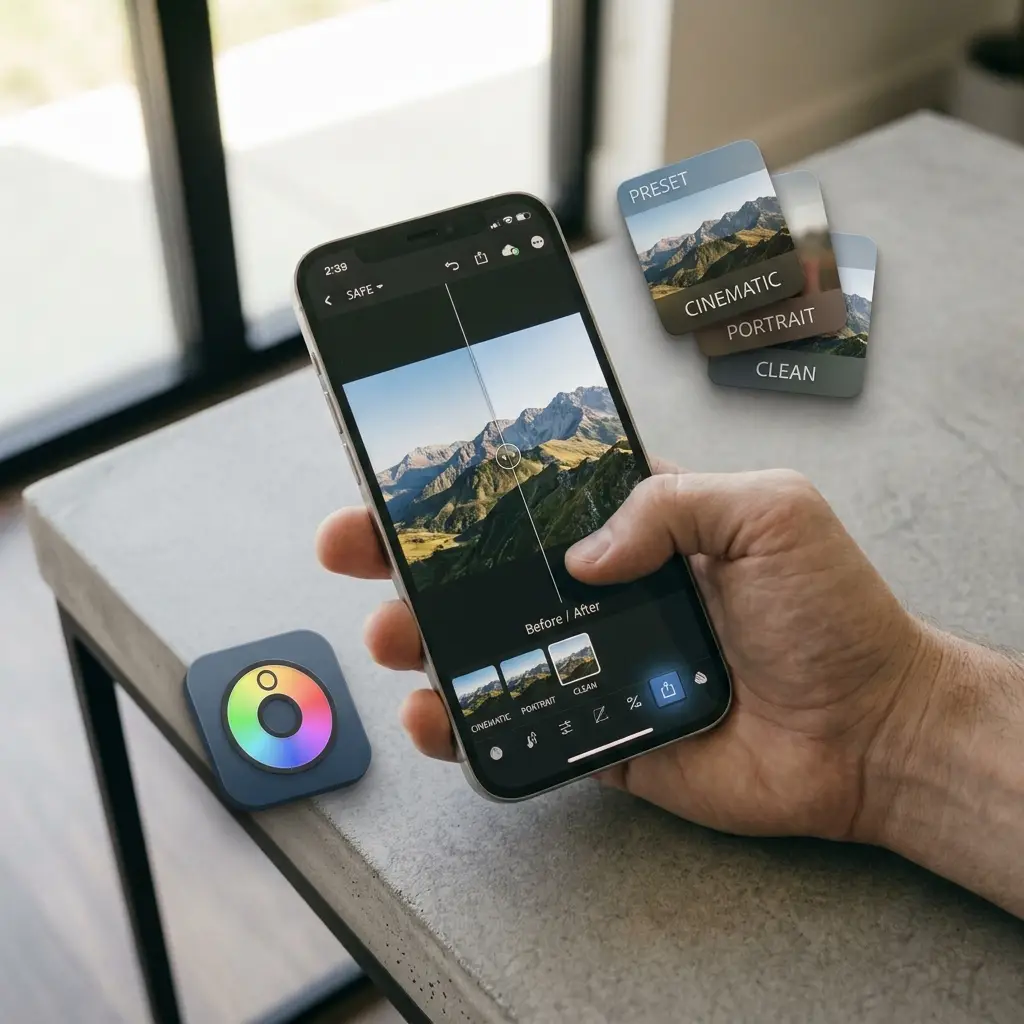
- Compare Before/After — Tap the eye icon often.
This basic workflow fixes most casual photos quickly.
Key Point: Always correct globally first before selective edits.
Intermediate Techniques: HSL and Selective Edits
HSL panel is powerful:
- Hue: Shift colors (e.g., make greens more teal).
- Saturation: Intensity of specific colors.
- Luminance: Brightness of colors (great for separating elements).
Example: In a landscape, increase blue saturation and luminance for skies while reducing yellows in foliage.
Use Selective tool or Masks:
- Radial gradient for vignettes with color shifts.
- Brush for targeted areas like eyes or products.
For portraits: Warm skin (orange/yellow) while cooling backgrounds.
| Technique | When to Use | Pro Example |
| HSL | Targeted color tweaks | Landscape color separation |
| Color Grading | Cinematic or moody looks | Film-inspired teal/orange |
| Masks + HSL | Precision editing | Skin tone correction only |
| Curves | Overall color contrast | Punchy editorial style |
Creative Color Grading for Mood and Style
Go beyond correction into grading:
- Yellow Cast — Lower Temp or adjust Tint.
- Oversaturated Skin — Reduce orange/red saturation and luminance.
- Flat Colors — Increase Vibrance + Dehaze.
- Inconsistent Batch — Use Sync settings or presets.
- Clipping — Watch histogram; recover with Highlights/Shadows.
Zoom to 100% and view on different screens for accuracy.
Lightroom Mobile Color Tools vs Desktop
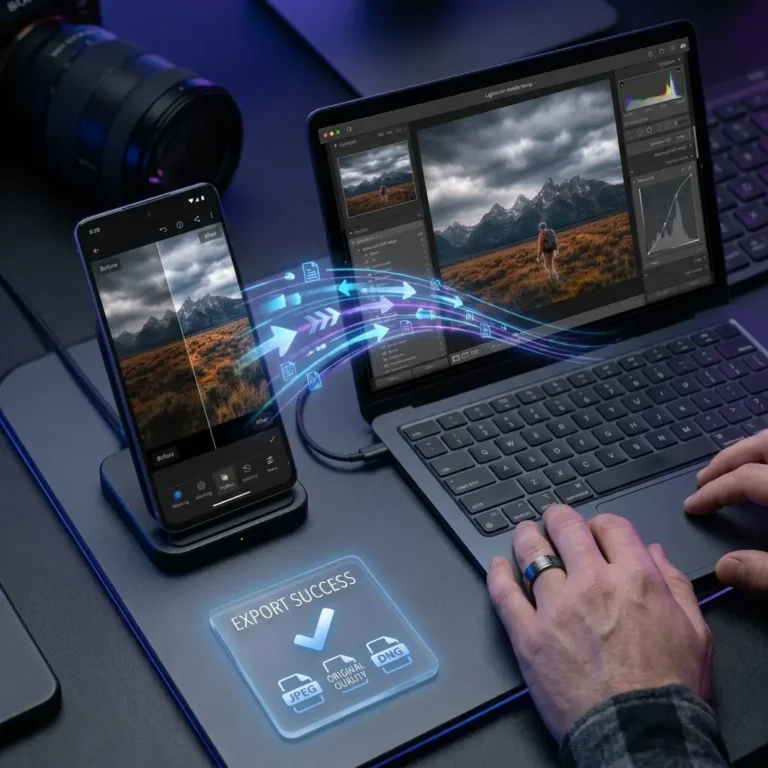
Mobile offers most essential tools with excellent results. Desktop adds more precise Calibration panel and advanced AI sometimes. Sync lets you start on mobile and finish on desktop. For most users, mobile is sufficient and faster.
Best Practices and Pro Tips
- Edit in a consistent light environment.
- Calibrate your screen if possible.
- Work non-destructively with Versions.
- Use Reference Photos for color matching.
- Create style-specific presets.
- Practice with sample RAW files.
- Combine with Light adjustments — they affect perceived color.
Expert Tip: Less is often more. Subtle corrections look more natural and professional.
Exporting Color-Corrected Photos
Choose high-quality JPEG or original format. Embed color profile (sRGB for web). Add sharpening if needed for output size. Share directly to social or save for printing.
Conclusion
Mastering color correction in Lightroom Mobile takes your photography to a professional level. Start simple with White Balance and HSL, then advance to masks and grading. Consistent practice builds intuition and speed.
Apply these techniques to your next photos and watch your work improve dramatically. Color is subjective — develop your eye and style over time.
This guide equips you with beginner-to-advanced knowledge for outstanding results on mobile.