Lightroom Wedding Photo Editing: Complete Guide
Creating a consistent and stylish photo look has never been easier, thanks to Lightroom presets. As every user knows, the power of the presets that can be applied to multiple images with only one click and give you better results, therefore, it is the heart of editing. In this guide, we’ll walk you through everything you need to know about Lr wedding photo editing, from the basics to advanced techniques.
if you are going to edit wedding images for the first time, don’t worry, this guide will provide you with all the information you need to master editing and become an expert, and edit images by one click. let’s figure out why Lightroom is used for wedding editing. It is used by many users to edit wedding images in it. let’s dive into.
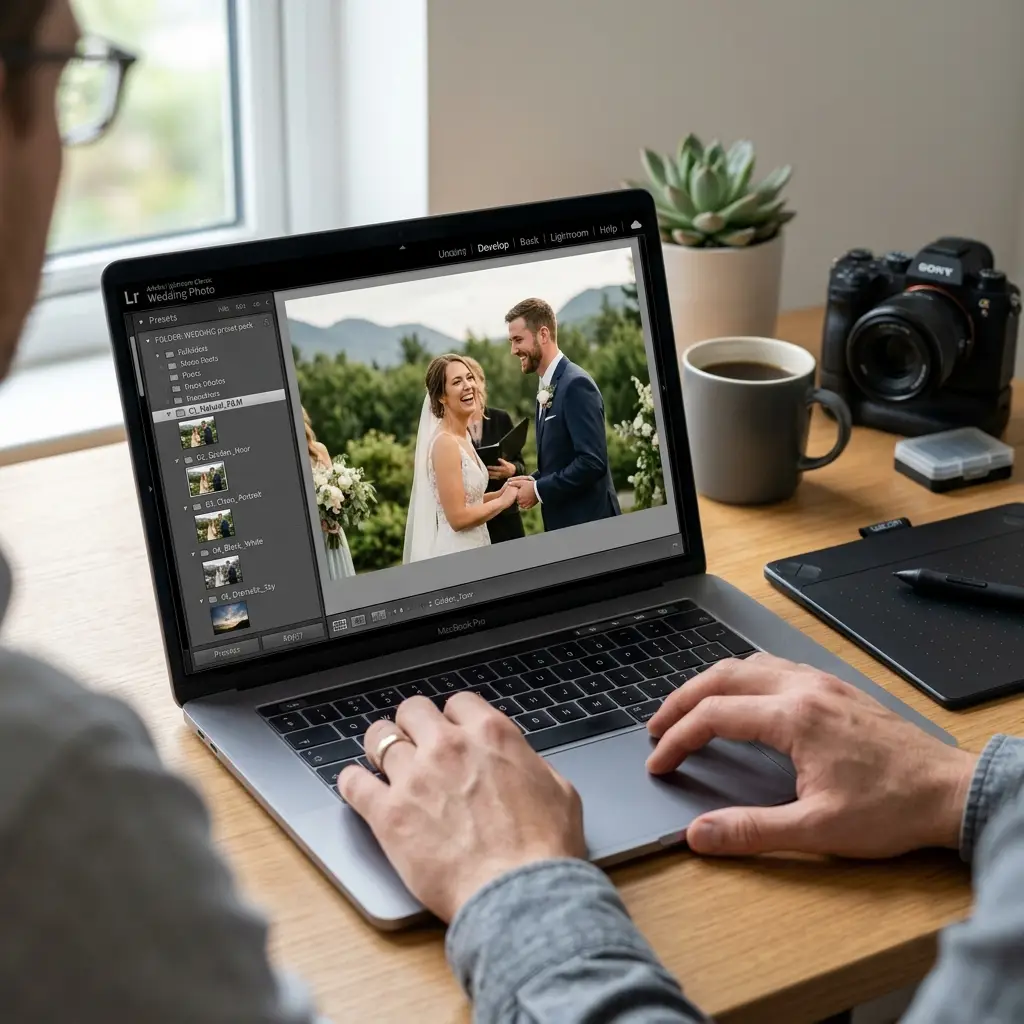
Why Lightroom is Perfect for Wedding Photography
Benefits of Lightroom for Weddings
• Non-destructive Editing: Lightroom keeps your original files safe, no matter how much you tweak.
• Presets for Speed: Apply custom or downloaded presets to entire galleries.
• Batch Editing: Hundreds of photos can be edited with one click.
• Cloud Syncing: Work across devices without missing a beat.
Your editing flow can be faster and smoother with Lightroom without losing image original quality. Its features are built for speed, flexibility, and visual storytelling, three things weddings demand. Visit Now
Getting Started with Lightroom for Weddings
Setting Up Your Workspace
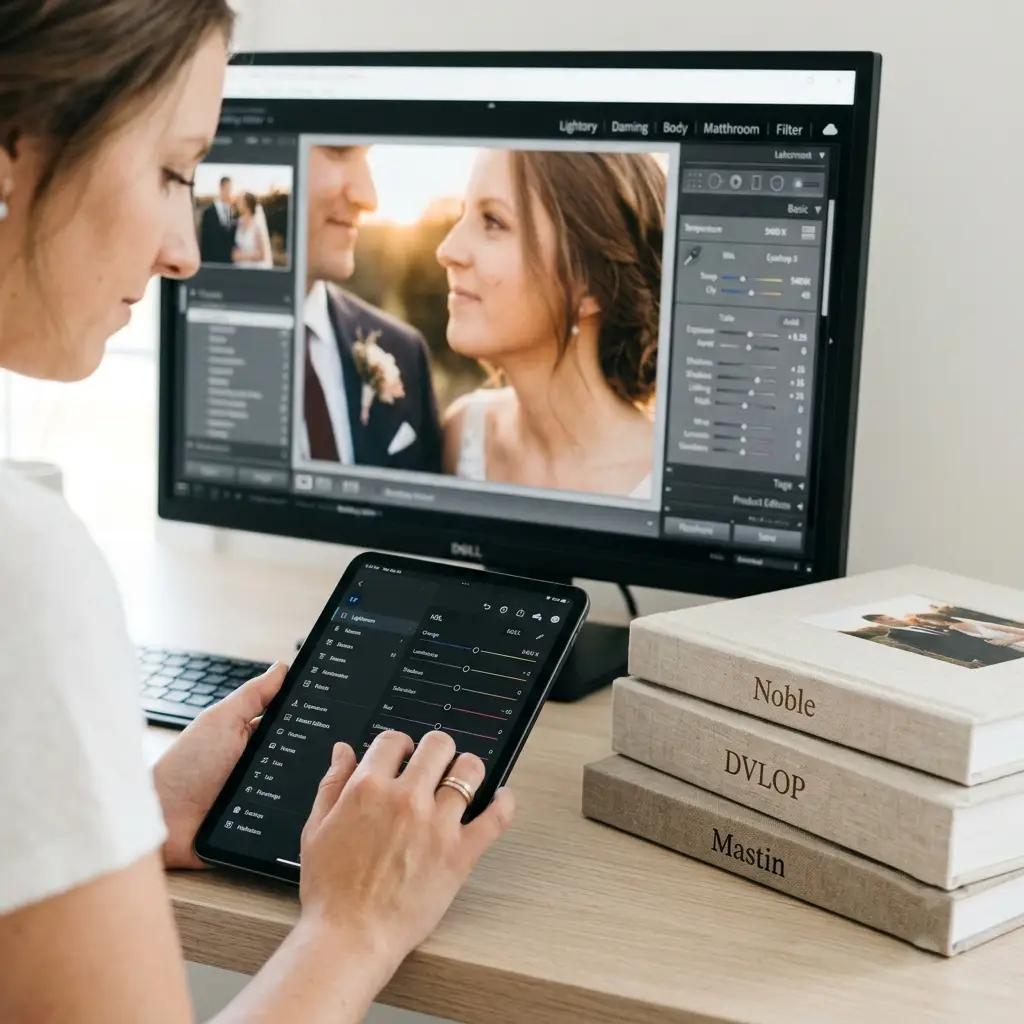
Start by organizing your workspace. Lightroom can be used as you love to use it means you can make your interface in which you work faster and smoother. Use the Library module to sort, rate, and flag your images. Move to the Develop module for actual editing.
Import your photos with a clear folder structure (e.g., Bride Prep, Ceremony, Reception). Use smart previews if you’re editing on the go.
Importing and Cataloging Wedding Photos
Expert users always organize their images in a folder with their specific names that can be easy to find and worked on again, or if it is ok, send it to the one who wants it.
Pro Tip: Rename files during import using a consistent naming convention like Smith_Wedding_001.DNG.
Essential Lightroom Tools for Wedding Editors
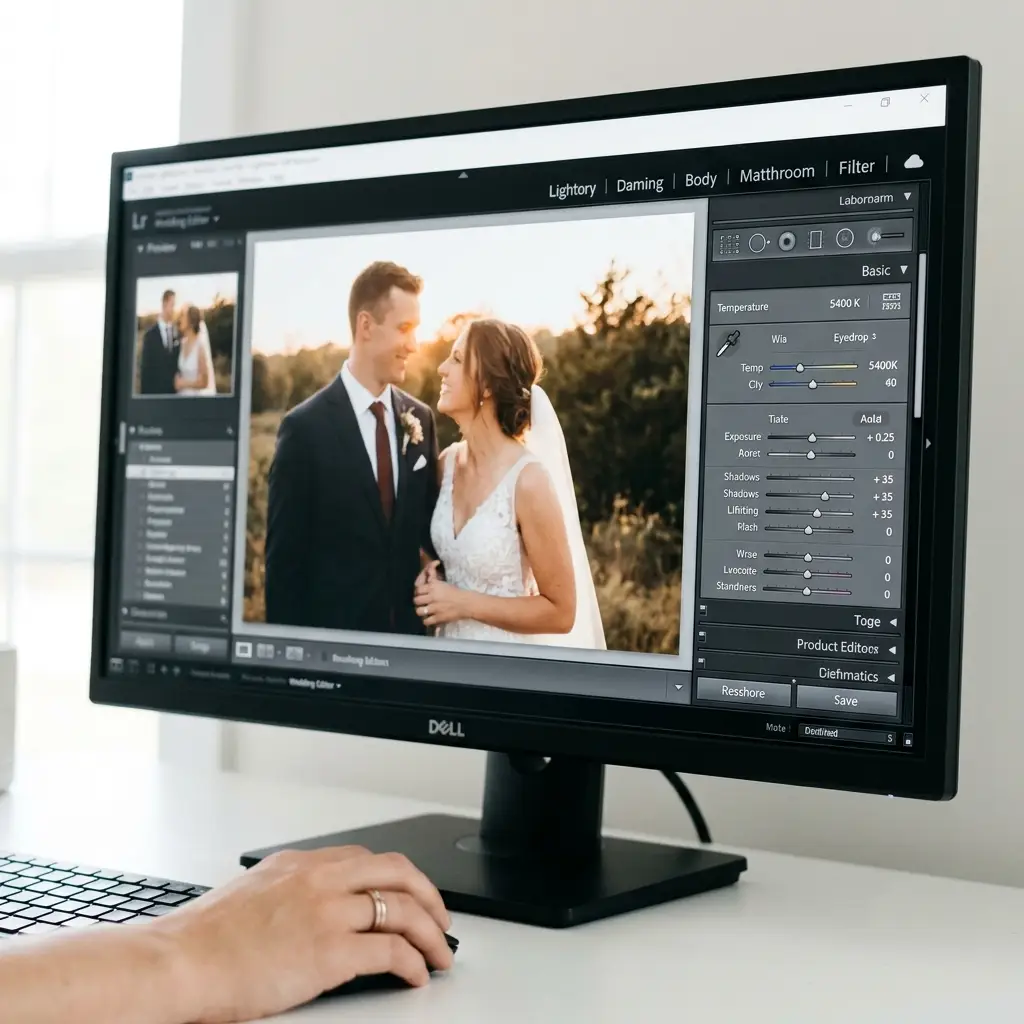
Basic Panel (Your Foundation)
Start with the Basic panel:
• White Balance: Use the dropper tool or select a preset (Daylight, Cloudy, etc.)
• Exposure & Contrast: Make sure skin tones look natural
• Highlights/Shadows: Recover details in the dress and suit
• Blacks/whites: let the tonal range be selected by using the ALT key for clipping
These are your foundational adjustments; they create the mood and clarity of the image.
Tone Curve, HSL & Color Grading
let the tone curve be used to add soft contrast or matte effects. Then adjust HSL sliders to correct or stylize colors (like greens in outdoor shots).
Color Grading: Add subtle tones to shadows, midtones, and highlights for a cinematic wedding vibe.
Best Presets for Wedding Photography
How to Choose the Right Preset Style
Not all presets are created equal. For weddings, you want presets that:
• Keep skin tones clean
• Enhance natural light
• Add mood without over editing
Popular styles include:
• Light & Airy: Best for outdoor, sunlit weddings
• Moody & Cinematic: Ideal for rustic or fall ceremonies
• Film-Inspired: Emulates 35mm film with grain and soft tones
Applying and Customizing Presets
After applying a preset, always fine-tune. Adjust:
• Exposure
• White balance
• Shadows
• Hue/Saturation
Presets should enhance, not replace, your vision. Save your custom tweaks as new presets for consistent branding.
Correcting Lighting and Exposure
Fixing Harsh Lighting or Underexposed Shots
Wedding venues often have inconsistent lighting, dim churches, bright outdoor altars, colourful receptions. Use:
• Graduated Filters: Balance sky and foreground
• Radial Filters: Brighten the bride and groom
• Adjustment Brush: Lighten shadows under the eyes
Use the histogram to guide your exposure decisions.
Advanced Exposure Tips
• Use Auto Tone as a starting point.
• Turn on clipping warnings to avoid blown highlights.
• Apply slight dehaze on foggy shots.
Skin Tones and Portrait Perfection
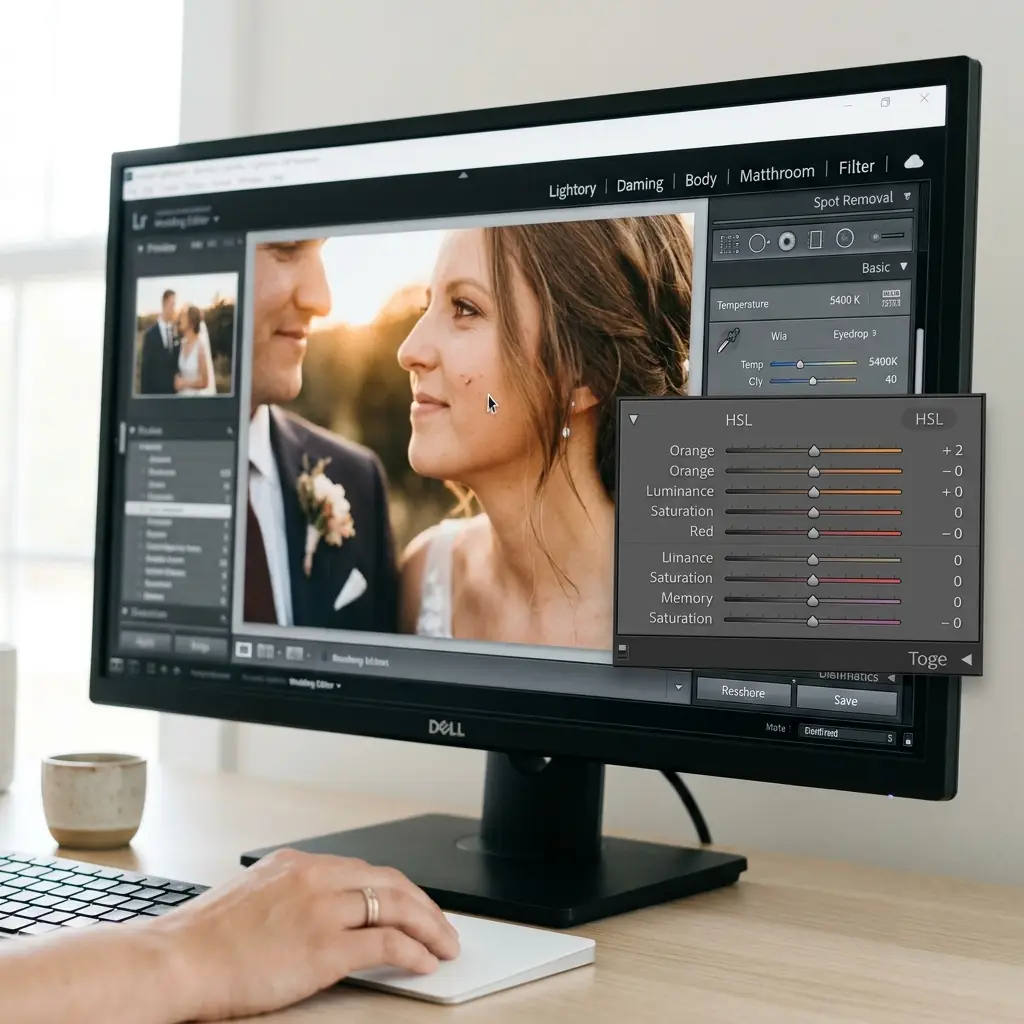
Editing Skin Naturally
• Use the Targeted Adjustment Tool in HSL to correct red or orange tones.
• Apply minimal Texture and Clarity to avoid harsh skin effects.
Spot Removal and Retouching Tips
• Use the Spot Removal tool in Heal mode for blemishes.
• Use Local Adjustment Brush with softened clarity to smooth skin.
• Zoom to 100% when retouching close-ups.
Keep edits subtle. Over-retouching ruins realism.
Syncing and Batch Editing Techniques
Speeding Up Your Workflow
Use Sync Settings to apply the same edit to multiple photos. Select your edited photo, hold Shift, select others, then click ‘Sync.’
Smart Collections & Metadata Magic
Create Smart Collections with filters like ‘5-star + Edited’ to automatically group your best shots. Add metadata for easy exporting and client access.
Exporting Wedding Photos for Clients
File Types and Resolution Settings
• For digital: JPEG, 300 dpi, sRGB, 4000px long edge
• For prints: TIFF or high-res JPEG
• For social media: Lower resolution, 2048px max, watermark optional
Watermarking and Delivery Options
Lightroom lets you create custom watermarks with your logo. Use services like Pixieset, ShootProof, or Dropbox for delivery.
Tips from Real Wedding Photographers
Common Mistakes to Avoid
• Over-saturating greens or skin
• Ignoring cropping ratios
• Skipping lens corrections
• Not calibrating your monitor
Pro Advice You Can Use
• Edit in the same lighting every time.
• Calibrate once a month.
• Build your wedding editing checklist to stay consistent.
FAQs on Lightroom Wedding Editing
What are the best Lightroom presets for weddings?
Look for presets made specifically for weddings. Top choices include Noble Presets, DVLOP, and Mastin Labs. By using presets, your image quality can be improved, and the tone can be better.
Can I edit wedding photos on Lightroom mobile?
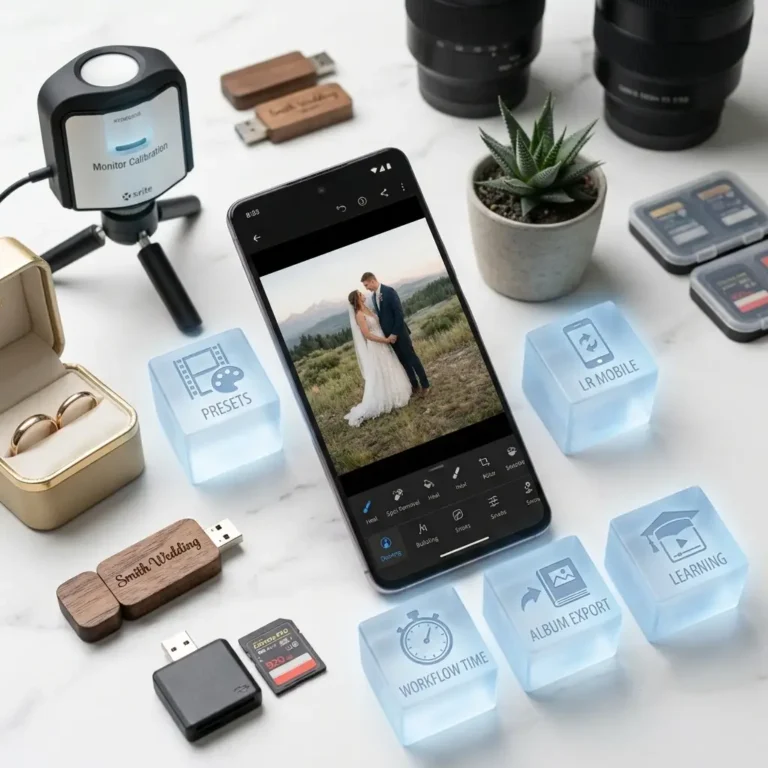
Yes! Lightroom mobile is great for quick edits. Sync your catalog through Creative Cloud and apply mobile-friendly presets.
How long does it take to edit a wedding in Lightroom?
It is in your hands how fast you can edit with new presets, and also how you keep your workflow. With batch editing and presets, you can cut down hours. On average: 6–10 hours per full gallery.
What’s the ideal Lightroom export setting for albums?
Use JPEG, sRGB, 300 dpi, and the highest quality setting. Keep sharpening to standard and set resolution around 3600px wide for album prints.
How can beginners learn Lightroom wedding editing?
Start with wedding editing practice files and follow along with tutorials. Use YouTube channels like Signature Edits or paid Lightroom courses for wedding photographers for hands-on guidance.
Conclusion
Editing wedding photos in Lightroom blends creativity with structure. With the right presets, tools, and workflow, you can turn raw moments into polished memories. This APK for weddings wrap-up serves as a blueprint for consistent, high-quality edits that tell a story.
In this summary of the wedding editing process, we covered every step, from importing to exporting, so you can confidently approach your next wedding project. Now more about presets.